Blender 3D
NAVis comes with an interface to import neurons into
Blender 3D for high quality renderings and
videos: navis.interfaces.blender
Because NAVis requires Python at least 3.8 this only works with Blender 2.8x or higher!
Installation
Blender comes with its own Python 3.X distribution! So you need to install NAVis explicitly for this distribution in order to use it within Blender.
There are several ways to install additional packages for Blender’s built-in Python. The easiest way is probably this:
Find out where Blender’s Python lives (this depends on your OS). In Blender’s Python console run this:
>>> import sys
>>> sys.executable
'[..]/blender.app/Contents/Resources/3.0/python/bin/python3.9'
Check if Blender’s Python already came with the package manager pip:
[..]/blender.app/Contents/Resources/3.0/python/bin/python3.9 -m pip --version
If the above command throws an error along the lines of “No module named pip”: get pip by downloading
get-pip.pyfrom here and install by executing with your Python distribution:[..]/blender.app/Contents/Resources/3.0/python/bin/python3.9 get-pip.py
If pip is there but horrendously outdated, you can update it like so:
[..]/blender.app/Contents/Resources/3.0/python/bin/python3.9 -m pip install pip -U
Use pip to install NAVis (or any other package for that matter). Please note we have to - again - specify that we want to install for Blender’s Python:
[..]/blender.app/Contents/Resources/3.0/python/bin/python3.9 -m pip install navis
Important
It’s possible that this install fails with an error message along the lines of ‘Python.h’ file not found. The reason for this is that Blender ships with a “Python light” and you have to manually provide the Python header files:
First, find out the exact Blender Python version:
[..]/blender.app/Contents/Resources/3.0/python/bin/python3.9 -VNext point your browser at https://www.python.org/downloads/source/ and download the Gzipped source tarball from the exact same Python version, i.e.
Python-3.X.X.tgzand save it to your Downloads directory.Finally you need to copy everything in the
Includefolder inside that tarball into the correspondingincludefolder in your Blender’s Python. In a terminal run:cd ~/Downloads/ tar -xzf Python-3.X.X.tgz cp Python-3.X.X/Include/* [..]/blender.app/Contents/Resources/3.0/python/bin/python3.9
If the above fails you have one more option: figure out which dependency fails to compile and compile it on your system’s Python.
Install the exact same version of Python as Blender is running on your system
Download the source code for the offending dependency either from PyPI where it’ll likely be some
tar.gzfile under “Download files” or from the Github repositoryRun
python setup.py bdist_wheelto compile the dependency into a wheel file (will appear as.whlfile in a/distsubdirectory)Go back to Blender’s Python and install the dependency from that wheel:
[..]/blender.app/Contents/Resources/3.0/python/bin/python3.9 -m pip install <full file name of wheel file with .whl extension>
You should now be all set to use NAVis in Blender. Check out Quickstart!
Quickstart
navis.interfaces.blender provides a simple interface that lets you add,
select and manipulate neurons from within Blender’s Python console:
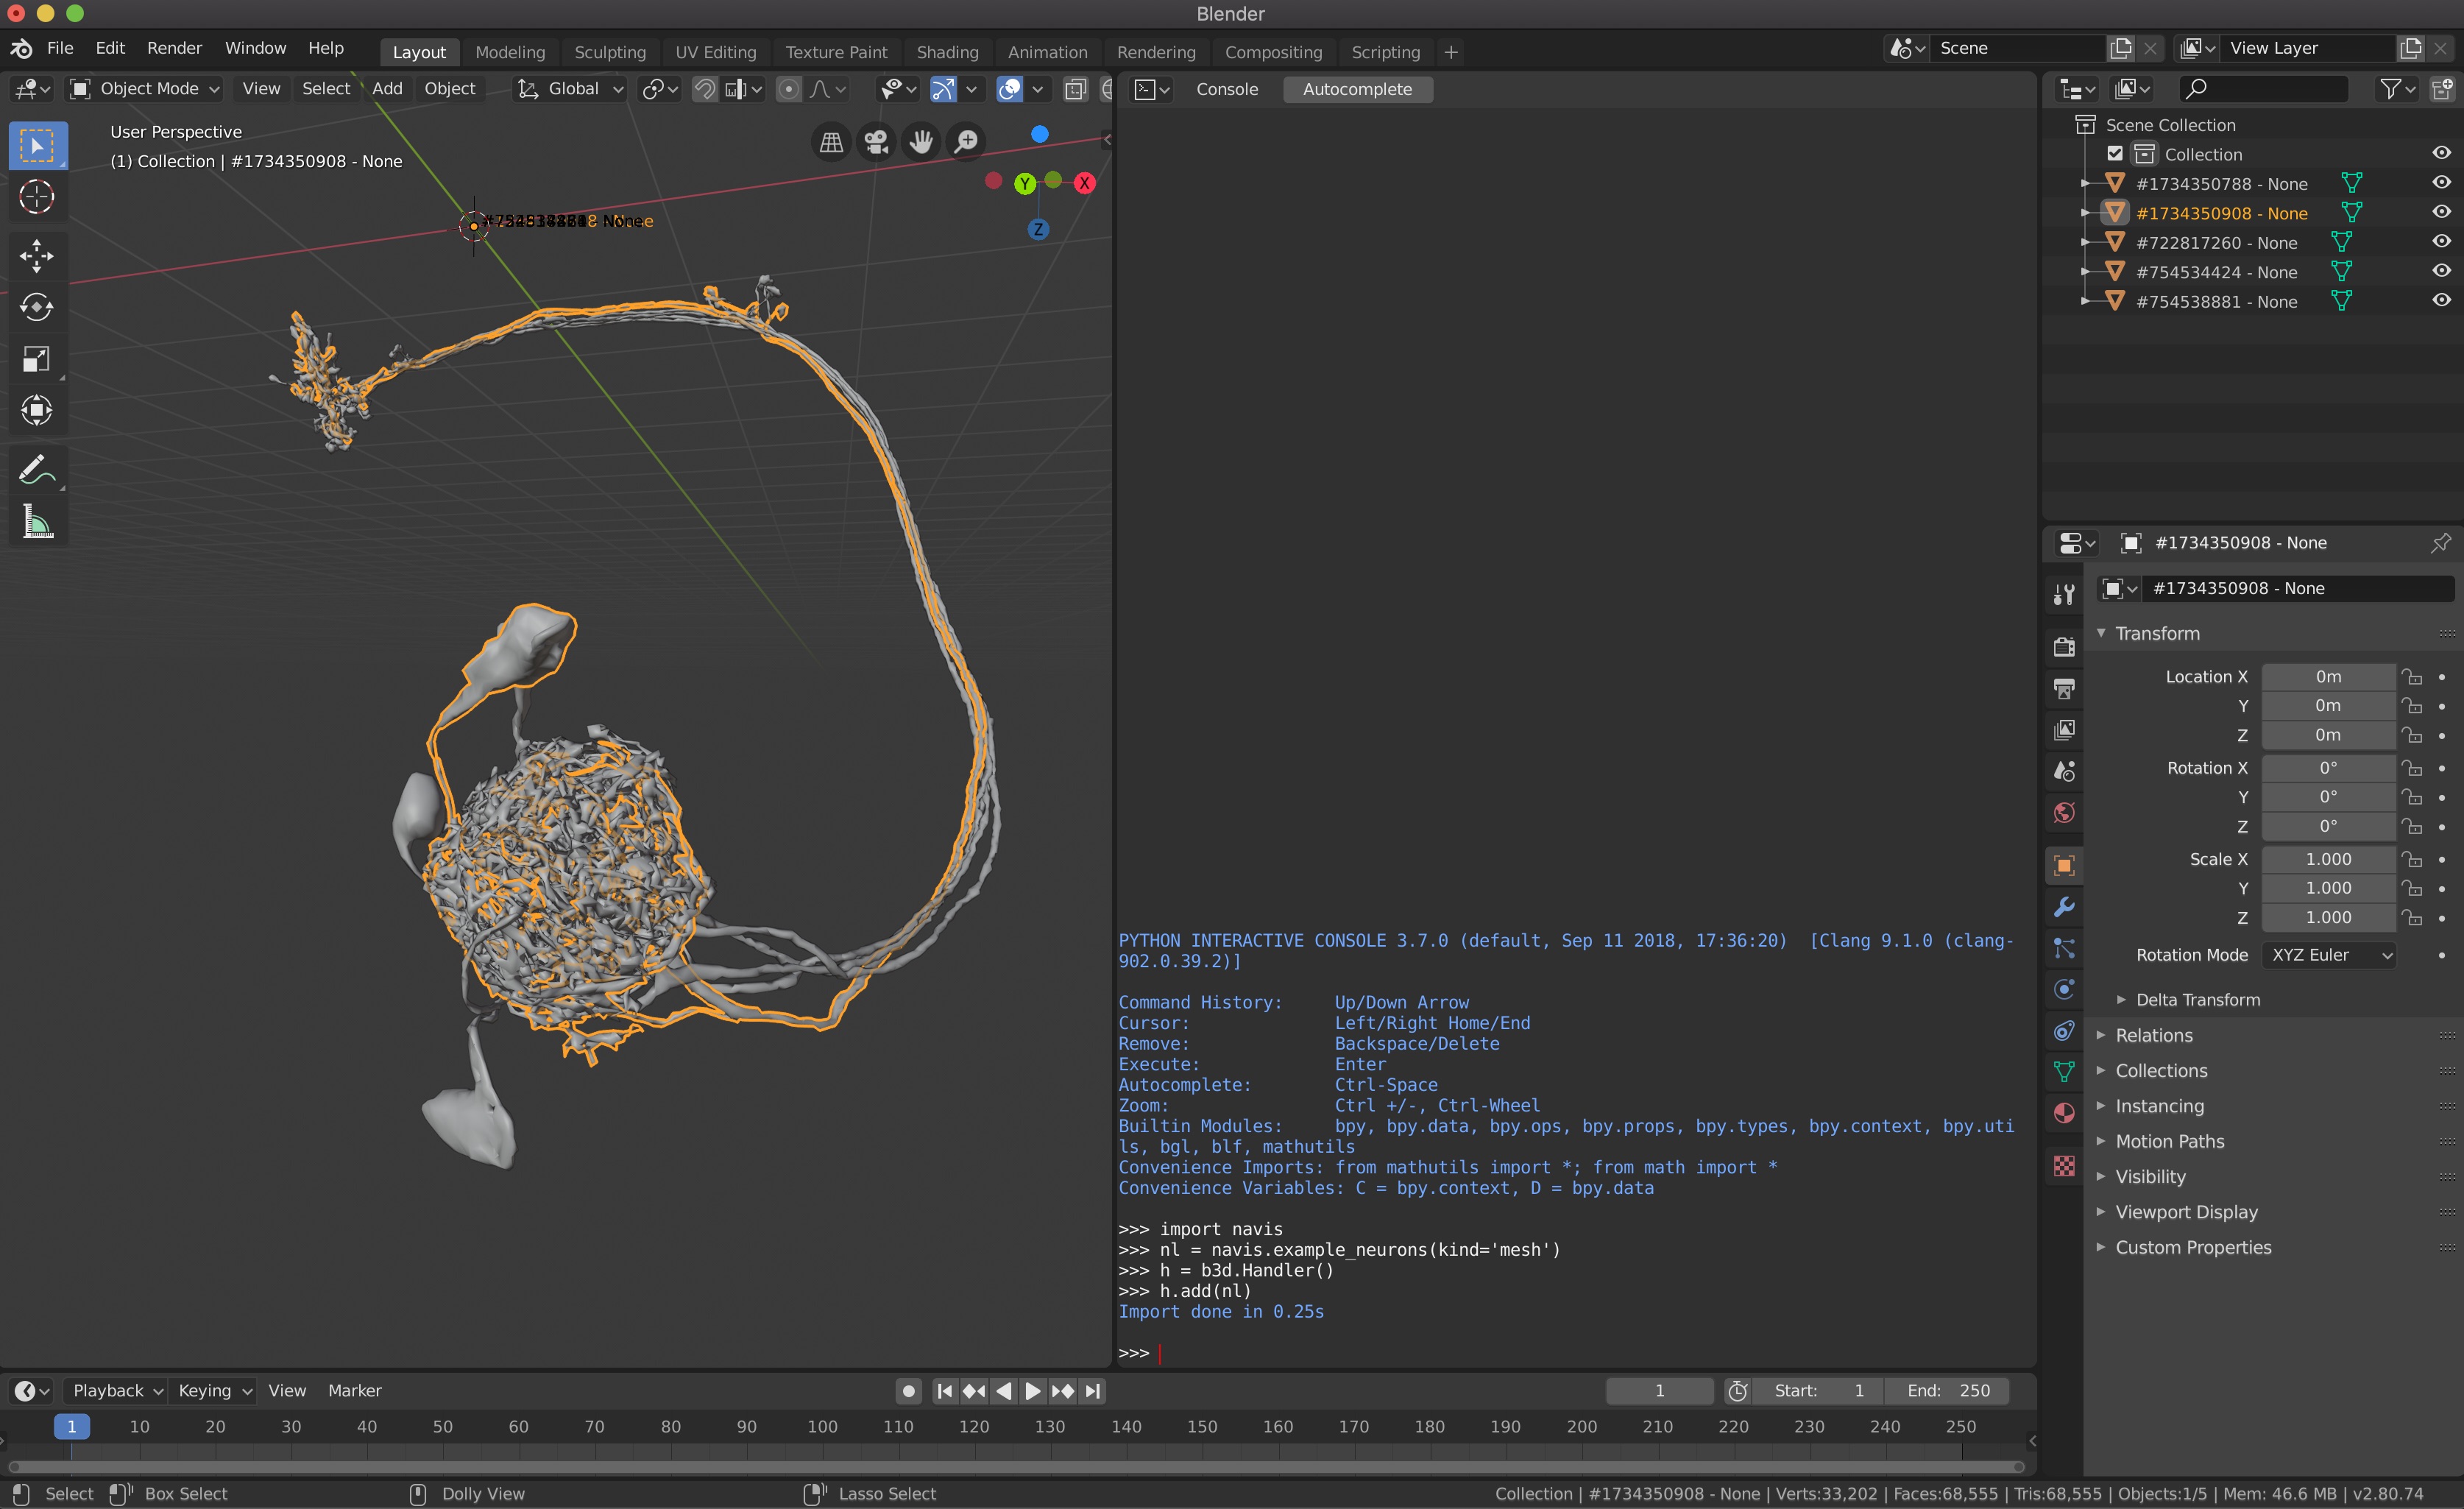
First, import and set up NAVis like you are used to.
>>> import navis
>>> # Get example neurons
>>> nl = navis.example_neurons()
Now initialise the interface with Blender and import the neurons.
>>> # The blender interface has to be imported explicitly
>>> import navis.interfaces.blender as b3d
>>> # Initialise handler
>>> h = b3d.Handler()
>>> # Load neurons into scene
>>> h.add(nl)
The interface lets you manipulate neurons in Blender too.
>>> # Colorize neurons
>>> h.colorize()
>>> # Change thickness of all neurons
>>> h.neurons.bevel(.02)
>>> # Select subset
>>> subset = h.select(nl[:2])
>>> # Make subset red
>>> subset.color(1, 0, 0)
>>> # Clear all objects
>>> h.clear()
Note
Blender’s Python console does not show all outputs. Please check the terminal if you experience issues. In Windows simply go to Help >> Toggle System Console. In MacOS, right-click Blender in Finder >> Show Package Contents >> MacOS >> double click on blender.
Last but not least, here’s a little taster of what you can do with Blender:
Reference
The navis.interfaces.blender.Handler is providing the interface between
navis and Blender.
|
Class that interfaces with scene in Blender. |
To manipulate objects (i.e. neurons, synapses and such):
|
Add neuron(s) to scene. |
Clear all neurons |
|
|
Select given neurons. |
Hide all neuron-related objects. |
|
Unide all neuron-related objects. |
Materials
Assign color to all neurons. |
|
Randomly colorize ALL neurons. |
|
Change emit value. |
|
Change transparency (True/False). |
|
Change alpha (0-1). |
|
Change bevel of ALL neurons. |
Selections
|
Select given neurons. |
Select objects in 3D viewer |
|
Assign color to all objects in the list. |
|
Assign colors across the color spectrum. |
|
Change emit value. |
|
Change transparency (True/False). |
|
Change alpha (0-1). |
|
Change bevel radius of objects. |
|
Hide objects. |
|
Unhide objects. |
|
Hide everything BUT these objects. |
|
Delete neurons in the selection. |